
The last time I made charred bones in the woodstove was when Rob was still working overseas. So, when I presented my foil-wrapped tin box to put beneath the fire he was building yesterday morning, it was a new request to him. “Are you serious?” he asked. “Yeah,” I said. “Just put it under the logs and keep building the fire over it all day. I’ll get it out tomorrow morning.” He said okay, with a skeptical tone and moved aside for me to put the box in there on the freshly cleaned floor of the stove.
Then he proceeded as usual and built the fire. When it’s cold like it is now, we keep the fire burning all day and add more wood to it before we go to bed. It’s the perfect time to make the charred bones I need for a black pigment, aptly named ‘bone black’. To get the best heat and charring, the container holding the bones need to stay covered with a thick layer of ash. It helps to keep air from reaching the contents inside the box. And so obviously, it shouldn’t be a box that will burn or melt.
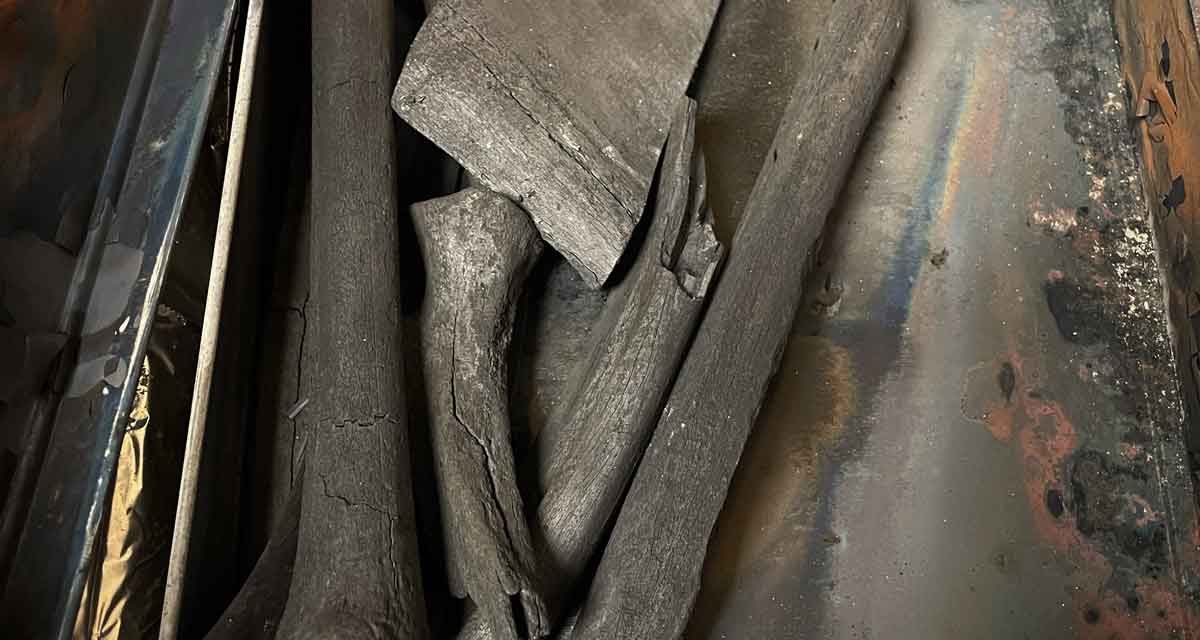
Mine is an old cookie tin, I think. I’ve forgotten what was originally in this box, maybe not cookies, but it’s rectangular and low profile enough to not interfere with building the fire over it. It also helps to wrap the entire box in a few layers of aluminum foil. Here’s how it looked after I took it out of the ashes and tore the aluminum foil wrapping off of it this morning.


Charred Bones to Paint
This is an ancient source of black pigment, probably discovered by early man around the campfire. Someone probably pulled a blackened bone out of the day before’s fire, and made a mark on a nearby stone or something. When they saw it left a good mark, I bet they tested it out making more marks and eventually ground it up to make a powder. If you’re interested in learning more details about the chemical makeup of charred bones, here’s an interesting post I found online. They’ve even linked to my YouTube video from when I made it last time, and I see now it was 4 years ago.
What’s next?
Now that they’re charred, I’ll grind them up in the mortar and pestle as fine as I can. Bones in general are VERY hard to break. But fully charred bones break quite easily.
But they don’t grind into a powder very easily. It’s time consuming and I could probably get it done a lot faster using my electric rock crusher. But that black would go everywhere and I may never get it out of the crusher again. So by hand it is. Crush the bones into as fine a powder as you can muster. Then wash the pigment.
Washing the Pigment
Then all of that powder goes into a jar. I’ll fill the jar with water and shake it. I’ll pour that water out into several other jars and save the pigment that settled to the bottom. It washes out impurities that are water soluble.


Once it’s washed, I’ll let the heavies and the lites dry. If the heavies still won’t break down on the mulling plate when I try to make the paint, I’ll grind again until it’s smooth enough. If its still too rough, I’ll wash again and this time save the blackened water. What settles in the blackened water will be the part I make the paint from.

Interested in seeing more about making paint from bone? Here’s my old post on making bone black.
ABOUT
________________________________
Madison Woods is the pen-name for my creative works. I’m a self-taught artist who moved to the Ozarks from south Louisiana in 2005. My paintings of Ozark-inspired scenes feature lightfast pigments from Madison county, Arkansas. My inspiration is nature – the beauty, and the inherent cycle of life and death, destruction, regeneration, and transformation.
Roxann Riedel is my real name. I’m also salesperson for Montgomery Whiteley Realty. If you’re interested in buying or selling in Madison or Carroll county, AR, let me know! You can see the properties that I blog about at WildOzarkLand.com.
Wild Ozark is also the only licensed ginseng nursery in Arkansas. Here’s the link for more information on the nursery
P.S.
There’s always a discount for paintings on the easel 😉
Here’s my Online Portfolio
And, Click here to join my mailing list.
Contact Mad Rox: (479) 409-3429 or madison@madisonwoods and let me know which hat I need to put on 🙂 Madison for art, Roxann for real estate, lol. Or call me Mad Rox and have them both covered!
https://www.youtube.com/@wildozark

