
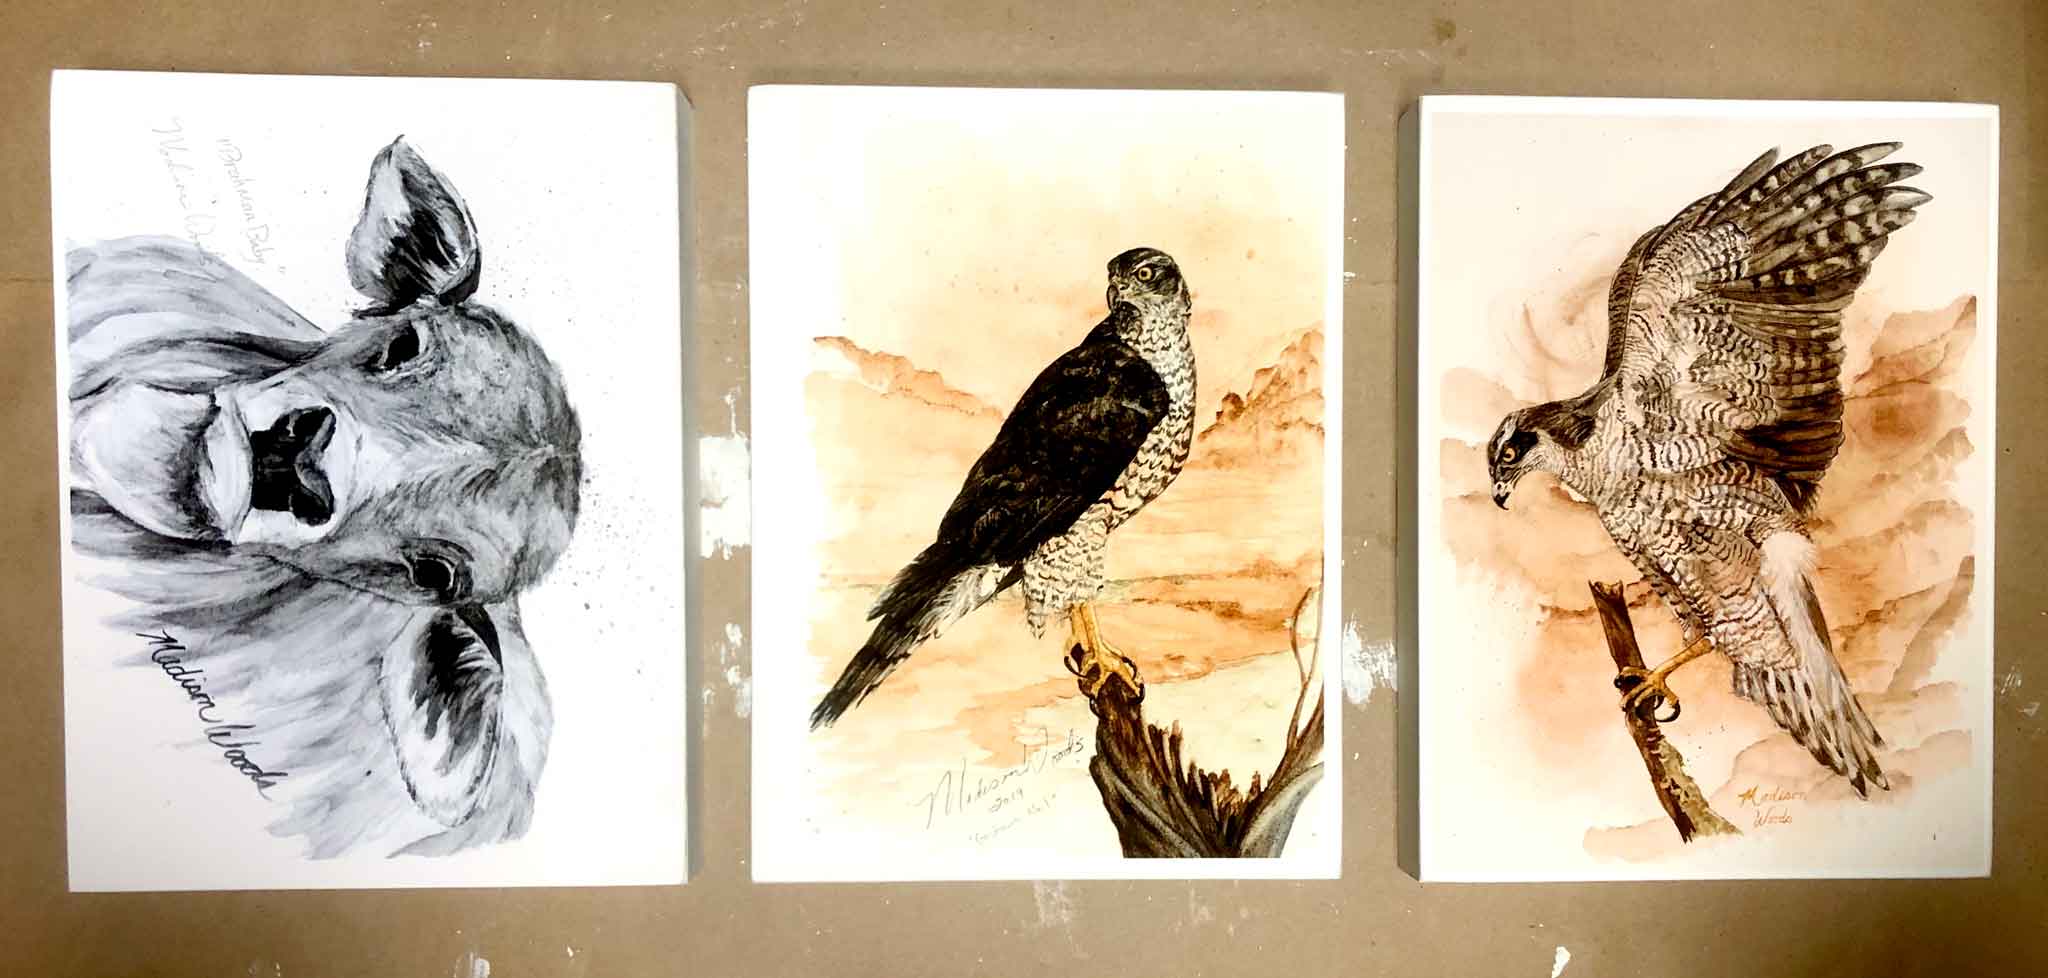
Today I’m working on a few 9 x 12″ prints, and the idea occurred to me that the process of making mounted prints might be something you’d like to see. There’s a bit of work involved with making these, but I love that they’re ready to hang when I’m done. The look is casual. For a more formal presentation, they can be framed just as you would frame a canvas work, with no glazing.
Step 1: paint the panels
The panels I use are the sort an artist uses when painting directly on them. I buy them in bundles from Amazon.

Instead of painting my artwork on them, though, I’m just going to mount a print of my artwork. Since I want to be able to hang it without framing, the sides need to be finished. And I also will paint around the edges on the top surface, so if the print doesn’t fit exactly to the edge, there won’t be any unpainted surface showing.
The paint I’m using today is white chalk acrylic. I like the matte finish of the chalk paint, and being in an acrylic base makes it durable. It is rated as ‘long lasting and fade resistant’, however, I can’t find any specific time ratings for the longevity of this paint.

Step 2: Sand the Painted Panels
Wear a dust mask for this. Sanding paint makes dust that settles onto everything in the room, and it will definitely cause respiratory issues if you breath it. It’s best to do this step outside.
Pro-tips for Step 2:
- Use fine grit for this step, so that it leaves a smooth finish.
The object is to make the front surface smooth so your print lies on it without bumps or lines underneath it. It is also to remove any excess paint that made dried drips or ridges at the corners and edges. Doing this step just makes a more professional end result. If you sand too much on certain areas, you’ll expose the wood. If you like the distressed look, this isn’t a problem. Since my art is already rustic and earthy, this wouldn’t be a problem for me. If you want to touch up the paint, you can do that, too. Just be sure to sand again if you make a raised area.

Step 3: Mount the Prints
When I’m making mounted prints, I like to use archival materials for everything when possible. The prints are archival quality, pigments and fine art paper are rated to at least 100 years. I still don’t think that means they can be left out in direct sunlight, though. It means under ordinary art display in a household situation, I’m sure. The only thing I’ve used in these without a certified archival rating is the white chalk paint, and the base board panels. But I’ve eliminated all of the sources for failure that I reasonably can.
Acid Free Adhesive
I use an archival quality glue made for restoring books. It’s flexible, acid free and won’t yellow over time. I’ve also used Mod Podge glue, and it too is acid free. The bottle doesn’t say so, but the manufacturer information at their website does.
Making mounted prints is fairly labor intensive, so I want the work to stand the test of time. The glue is a fairly important ingredient. It underlies the entire painting/print You can also mount your original work in this way, but I haven’t tried that yet. I have some small originals I will mount soon, though I think I’ll mount them on acid-free foam core and frame them (without glazing), rather than mount them onto the wooden panels for free hanging.
Lay the print down in the center first, with the ends curled upwards. Then let the sides down by gently uncurling them down onto the glued surface. Use a rubber roller (there’s a word for this tool, but I can’t think of it right now) to get the air bubbles out and distribute the glue evenly. Let the glue dry. After it’s had some time to get tacky, go around the edges to check and make sure the print is still firmly attached. If you see any gaps, press the print down onto the glue to make it stick.
Pro-tips for step 3:
This step is a really critical part of the process. A mistake at this step of making mounted prints can ruin the end result, even if you don’t see the problem at the time. If you don’t use enough glue, you’ll see bubbles arise when you apply the varnish. If you use too much glue, it’s bound to escape into spots it shouldn’t be- like on the print or on the sides, or on your hands. If you don’t use a brayer, and even if you do, it’s critical to get all of the air bubbles out from underneath the print.
- Make sure your hands are DRY and free of oils
- Use enough glue to fully coat the surface all the way to the edge, but not so much that you get a lot of oozing once the print is pressed down
- Do not allow glue to stay on your hands or the rubber roller (it’s a “brayer” – yay! I remembered the name for it finally).
- Be sure to go around the edges after a few minutes to make sure no gaps are forming. Press the print firmly to the surface all the way around.
- Keep a moist paper towel to clean up glue oozes or smears before it dries.
Step 4: Sand the Prints
Sometimes the paper over-runs the edges. This is actually better than an exactly placement, because sanding the edges makes a smoother transition to the board’s painted surface. Even if the paper doesn’t over-run the edges, sanding the edges of the paper still makes a better transition. Making mounted prints is a lot of work. But the end result is worth it. This step creates a lot of dust from the paper. Wear a dust mask and do it outside, too, if you can.
Pro-tips for Step 4
- Use medium (100) grit for this step. The finer grit is not enough to rip through the paper and cut it off at the edges without a lot of effort.
- Check the corners and edges after you’ve finished sanding. If any are not completely glued down, use a small brush to put paint underneath and press firmly.
- A can of air is handy for clearing the dust from the prints after sanding.

Next we’ll varnish the finished prints. If you want to sign, number, or title on the front of your prints, now is the time to do that. Otherwise you can do it on the back later.
Step 5: Almost the Last Step in Making Mounted Prints
The varnish is what protects the print so that it can hang without a glass or acrylic covering. It’s what makes the mounted print ready to hang.
Framing is optional if you also finish the sides the way I’ve done above. You can get more creative and decorate the sides even more, and embellish the print itself before you add the varnish. Eventually I will try using a little bit of gold and silver leaf on some of my designs. For the finish, I like the matte or satin. The brand of varnish I use is Timeless, from Breathing Color.
Use a roller sponge to apply the varnish in even strokes as if you were painting a wall. Work across in one direction and then another to make sure you cover all of the surface.
Pro-tips for Step 5:
- Don’t panic (yet) if you see the paper rise in spots in the freshly varnished prints. These will often settle back down to flat when it’s completely dry
- If there are still bubbles after 24 hours, then you most likely didn’t get a secure seal on the board. This is most likely caused by not enough glue.
- If you accidentally got glue or dirty hands on your prints, after the varnish dries is when you’ll see that. Not much you can do about it, except chalk it up to experience.
At this moment, I’m waiting for more varnish to arrive. When it gets here, I’ll get mine coated and then post pics of the finished products.
Step 6: Hanging Hardware
If the prints are 16 x 20 or smaller on lightweight panels, gator teeth are all you really need. If you prefer wires, you can use the wires. If you plan to frame it, don’t use any hardware on the print at all. Mount that onto the frame itself.
That’s it. I’ll try mounting and varnishing some of my small original twisted trees soon and I’ll let you know how that goes. Those will be framed, so I’ll have that option to show you, too.
Pro-tip for Step 6:
- Drill pilot holes (smaller than the screw or nail)
An Amazon Shopping List for Making Mounted Prints
Wild Ozark is an affiliate with Amazon. If you click on any of the links below, you’ll go to the usual Amazon site, and the prices are the same as if you’d gone there by your own searches. The only difference is that if you buy something during your visit via my link, I’ll get a few pennies on the sale as a commission for listing their links. There are other sources to buy these things, if you prefer not to shop at Amazon.
