
I made bone black, from a cow vertebra that I charred inside a small tin inside the wood stove. Previously I’d used charred wood from hickory and oak. It has been a difficult paint to re-wet and it never reached the depth of black I wanted. It was also grainier than I liked. The charred bone worked great!
A historical color, the blackest of blacks
Bone black has been a thing since the very early history of mankind. Charcoal from wood has always been more convenient and served well enough for most needs. But like me, someone somewhere must have need a deeper black than they could get from charred wood. Here’s a link to a little more info about that from Pigments Through the Ages website.http://www.webexhibits.org/pigments/indiv/recipe/boneblack.html
I’m not sure what that last line in the 19th century recipe means, but I may need to rinse the pigment before making the paint. We’ll see what happens. I didn’t find that link until writing this post, and I had already made the paint before that. Maybe for the next batch I’ll try it.
The process for making bone black
First I broke the bone into small enough pieces to fit inside the tin. The ashes from yesterday’s fire still occupied the stove. Too much air causes the bone to burn rather than char. Burying it under ashes inside the tin helps with that. Then I built the fire over it and let it burn down.
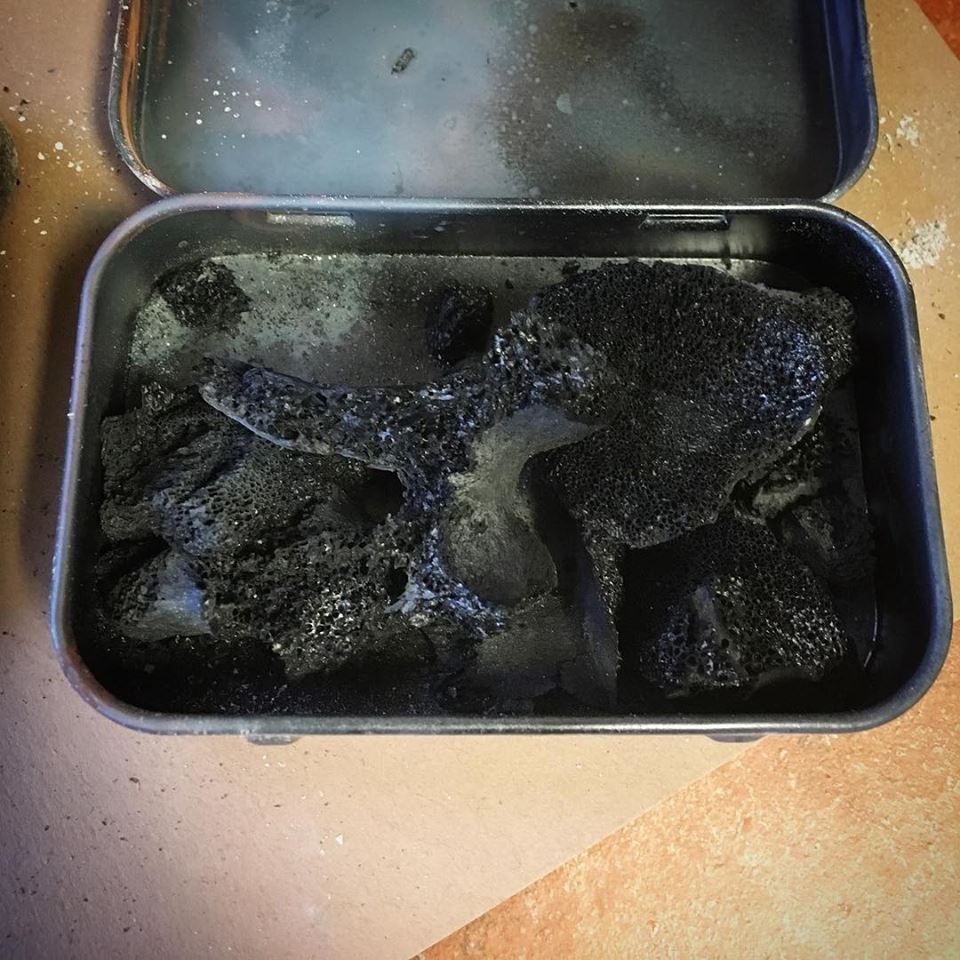
The charred bones were a lot lighter and easier to break down in the mortar than they were before. The bones were really difficult to break into small enough pieces to fit inside the tin. But afterward, the crushing was a breeze.
It’s still a very messy color to make. The powder floats into the air just as much as the charred wood does, so wear a dust mask if you make this. Or have a fan blowing the dust away from you. Just don’t put the fan too close, or you’ll blow your pigment out of the screen.
Once I had it crushed as fine as I could do with the mortar and pestle, I sifted the powder through a 200-mesh screen.
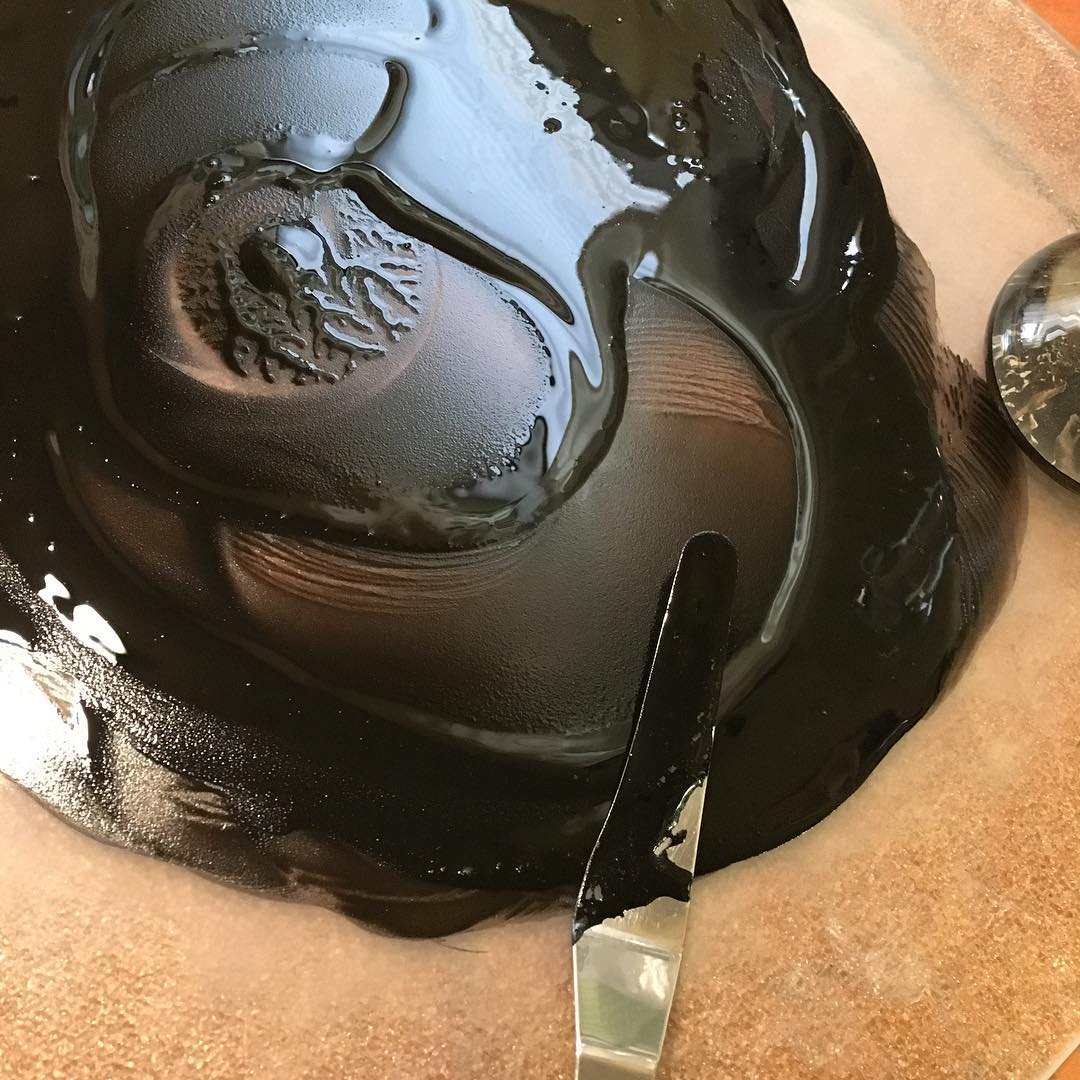
I sifted all I could through the screen, and put the difficult bits back into the mortar. Then and repeated the sifting process. After that was done, I put the more difficult bits into a small jar and added enough of the watercolor media to cover it plus some. I’ll strain that later and use the fluid to either make a sheer black or add it to the next fine sifted powder on the mulling board to see if it intensifies the black any.
The paint

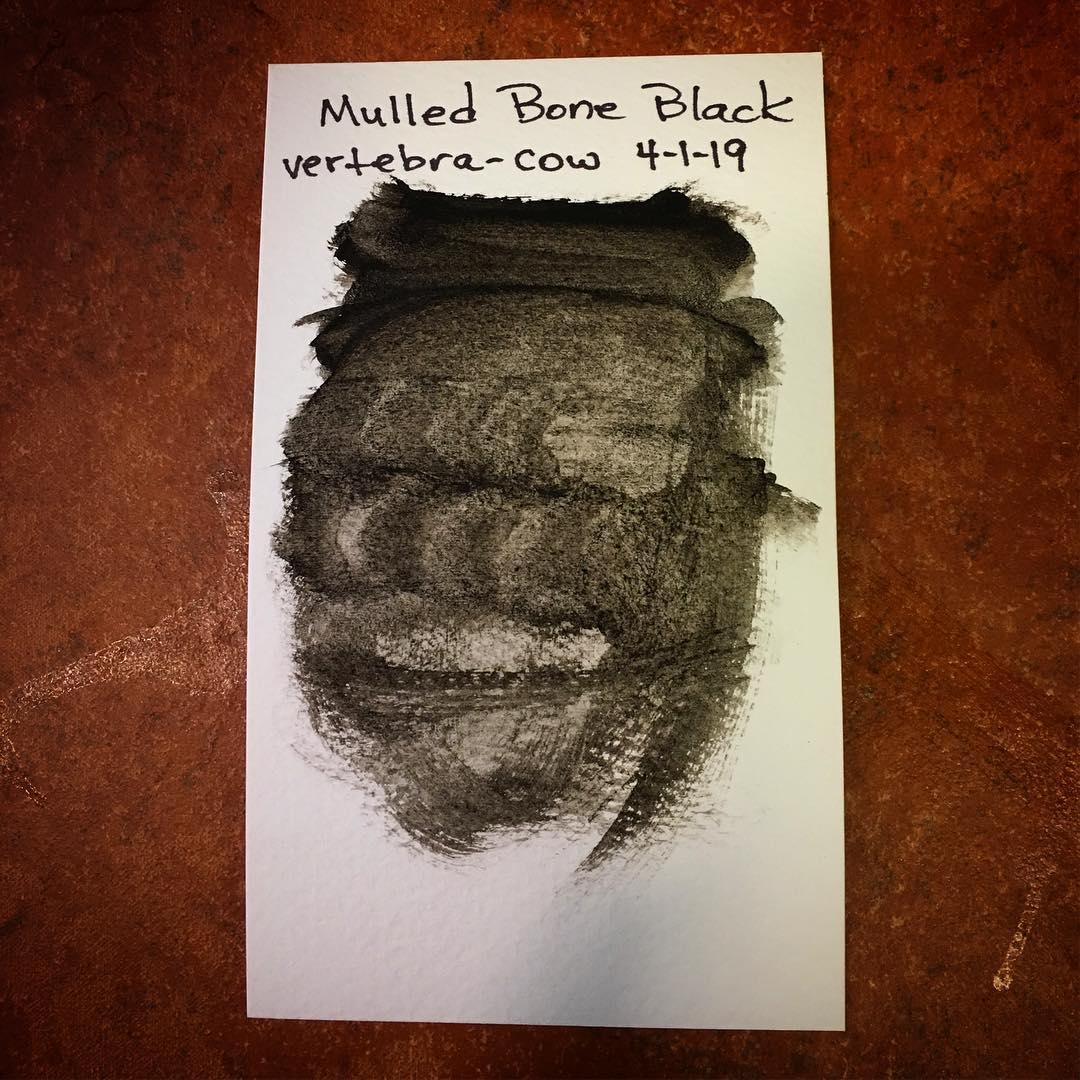
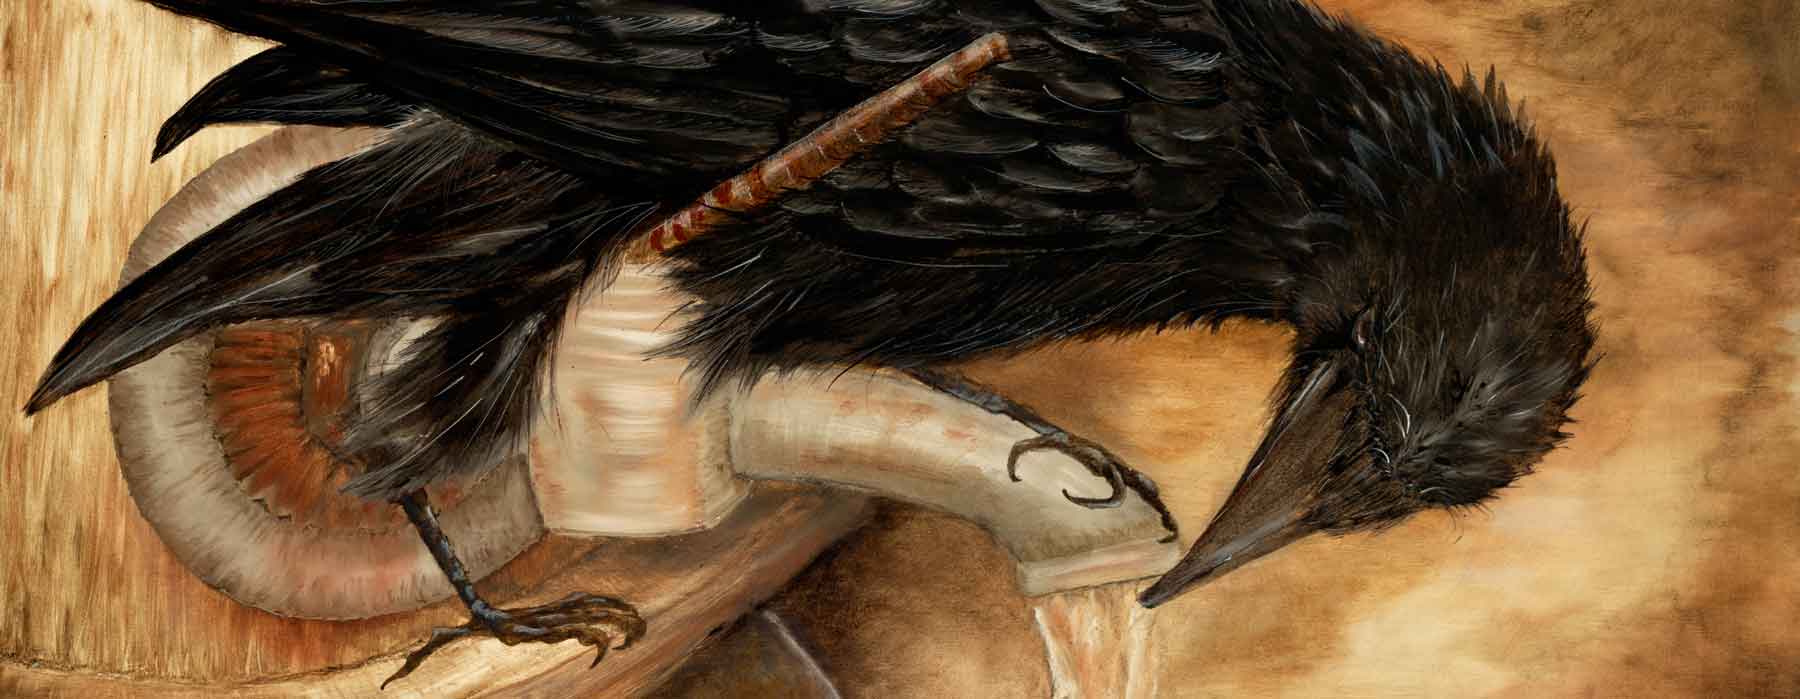
Once it dried, it doesn’t ‘smear’ when I rub on it – which is a good thing! It is a flat black, not glossy, but it’s exactly what I need to finish up my red-shouldered hawk painting.